In this article, I will show you how to update Open WebUI to the latest version without losing data. Open WebUI is a self-hosted, free, open-source AI interface that allows you to interact with different AI models. You can install multiple AI models to Open WebUI in different ways. One way to do that is by installing Ollama. Previously, I have shown how to run the DeepSeek R1 model locally on your system using the Command Prompt and Open WebUI.
View the Current Version and Check for Updates in Open WebUI
When an update is available, Open WebUI displays a message regarding that on the bottom right side. However, if you do not see that message, you can manually check for updates and see the current version. This is how you can do that:

- Open your web browser and log in to Open WebUI.
- Click on your profile icon on the top right side and select Settings.
- Select About. You will see the currently installed version of Open WebUI there.
- To check for updates manually, click the Check for Updates button.
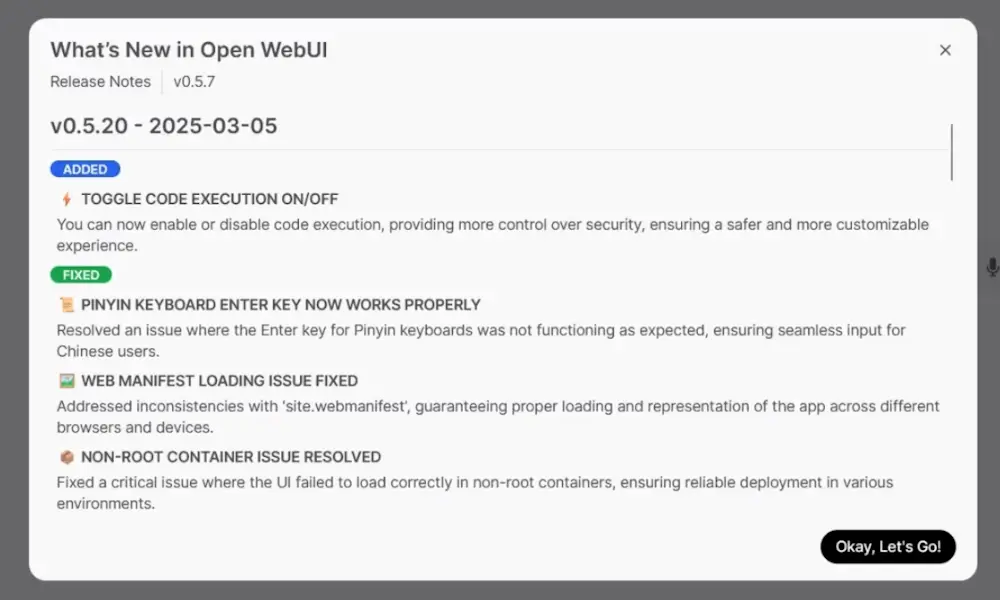
If an update is available, it will show you that a new version is available.
How to Update Open WebUI to the Latest Version
You can update Open WebUI to the latest version:
- Manually
- Automatically
Updating Open WebUI Manually
To update Open WebUI to the latest version manually, you need to run some commands in the Command Prompt. Before proceeding, launch Docker and let it run in the background. The first step is to stop and remove the current container in Docker.
Copy the following command, paste it into the Command Prompt, and hit Enter.
docker rm -f open-webui
The above command will stop the running container and remove it, but it will not delete data in the Docker volume. However, if you want to delete all the existing data in the Docker volume, you need to enter the following command:
docker volume rm open-webui
The above command will delete all your chat histories and other data from the Docker volume. Now, the next step is to pull the latest image of Open WebUI. Copy the following command, paste it into the Command Prompt, and press Enter.
docker pull ghcr.io/open-webui/open-webui:main
When the above command is completed, the last step is to start the container again with the updated Open WebUI image and existing volume attached. Use the following command:
docker run -d -p 3000:8080 -v open-webui:/app/backend/data --name open-webui ghcr.io/open-webui/open-webui:main
The above command will start the container with the updated image and the existing data if you did not remove the existing data. If you have removed the existing data, the above command will start the container with the updated image and a new, empty volume.
Updating Open WebUI Automatically
The next method is to update the Open WebUI automatically. For this, you have to Watchtower to automate the process. Watchtower is a Docker container that automates the process of updating Docker containers by monitoring their base images and pulling the latest images (if available).

Open the Command Prompt and execute the following command:
docker run --rm --volume /var/run/docker.sock:/var/run/docker.sock containrrr/watchtower --run-once open-webui
The above command is a one-time update command. It will stop the current container, pull the latest image, and start a new container with the updated image and existing volume attached. Since it is a one-time update command, you need to execute it every time a new update of open WebUI is released.
You can also run Watchtower as a separate container that watches and updates Open WebUI automatically. For this, you need to run the following command in the Command Prompt:
docker run -d --name watchtower \
--volume /var/run/docker.sock:/var/run/docker.sock \
containrrr/watchtower -i 300 open-webui
This command will start Watchtower in detached mode, watching your Open WebUI container for updates every 5 minutes.